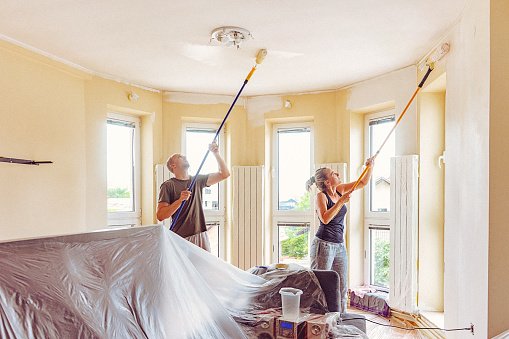
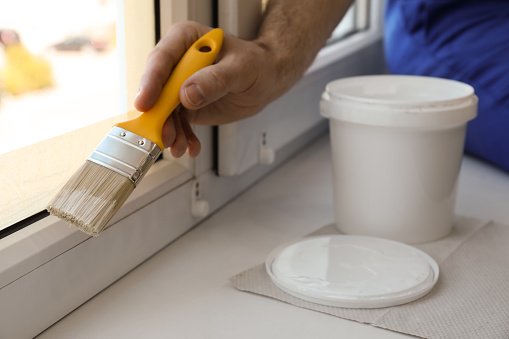
To obtain a beautiful finish when you want to paint varnished window frames to perfection, you need to make a solid start. Preparation and priming are essential for every form of painting.
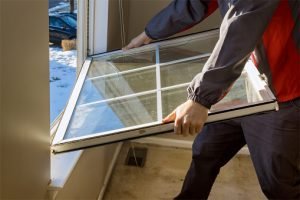
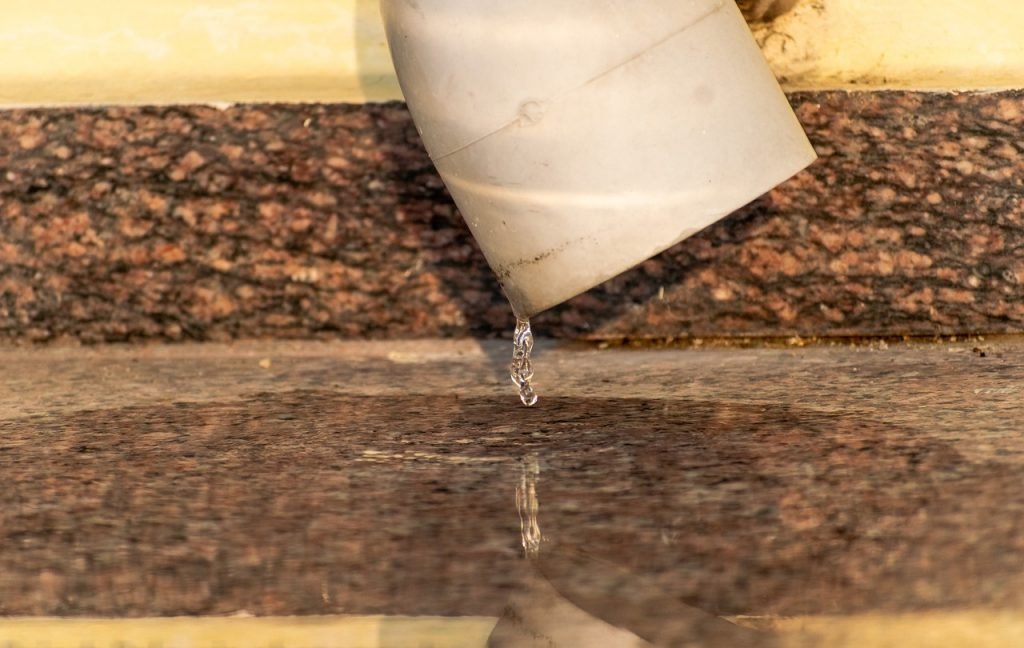
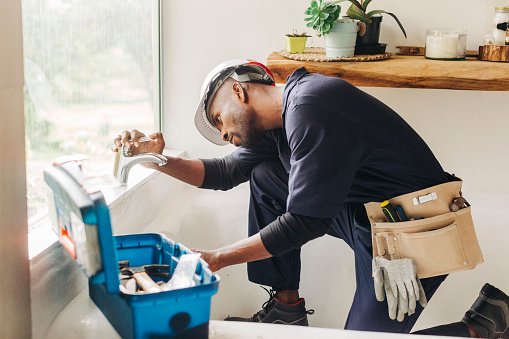
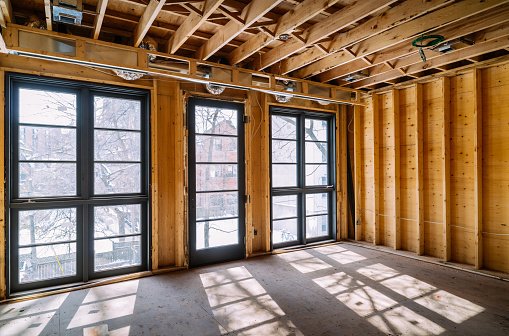
The most common reason we are called to paint varnished window frames is because they have been neglected and the varnish or stain has worn away over time. The varnish or stain has entirely peeled away in some parts, leaving the wood exposed to the weather, as you can see in this photo.
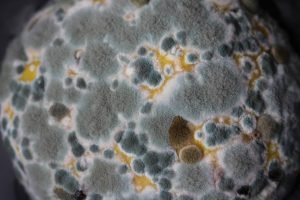
The wood will become black with mould and mildew in certain parts over time, and it will begin to decompose.
It will be quite impossible to restore your windows and doors to anything close to their former state if they have deteriorated this much. Most of the external windows we are requested to repair and paint look like this.
Sanding and scraping away all of the loose coating will be one of the first things to accomplish. You must ensure that the original coating is properly attached to the hardwood surface before painting varnished window frames and doors.
The previous coating must be removed if it is not solid, that is, if it scratches or scrapes away readily. This may seem to be a lot of work, but it must be completed!
If you skip this stage and go right to priming, you’re pretty much guaranteed that the whole work will have to be redone from scratch. You don’t have to remove all of the previous coating; only the easy-to-remove parts.
After scraping and sanding away the old loose coating, give whatever varnish covering is left a quick clean and a thorough rubbing down with sandpaper. Cleaning with soapy water and sanding with 150 grit paper sandpaper should suffice.
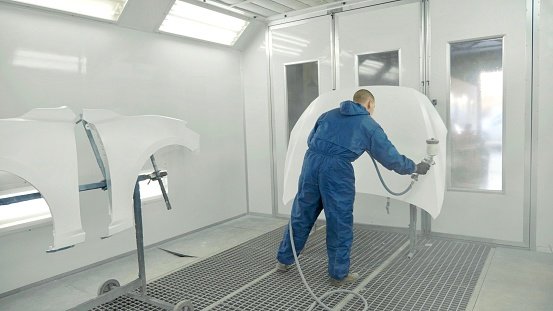
You may now go to priming. Here you may learn about the many sorts of primers. Personally, I would suggest using an oil-based primer like as Zinsser Coverstain.
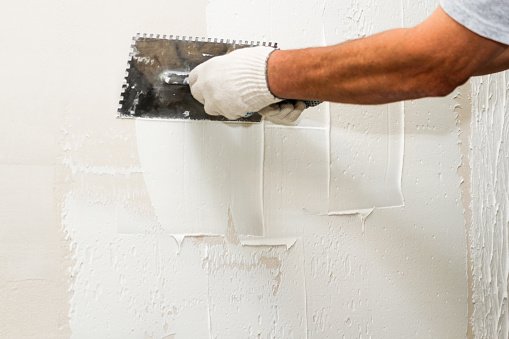
Coverstain is a great all-around primer for painting varnished window frames and doors. After the primer has dry, you may need to fill in any gaps with a mix of caulk and external wood filler. The less you file, the better, since the filler will most likely be the first item to fail as the years pass, so take it easy!
After you’ve filled everything, you’ll need to sand down the woodwork and the wood filler a bit (try not to sand over caulk or leave caulking until after the woodwork has been sanded). Because the timber hairs have risen to the surface, the initial application of primer has made the woodwork feel somewhat scratchy.
This is natural, and all you have to do now is sand these hairs smooth once again. After sanding and dusting, a second layer of primer should be applied to ensure that everything is fully primed.
If you’ve gotten this far using Coverstain, you now have the choice of utilizing either a water-based or an oil-based top coat. Both will work nicely with Coverstain. In my experience, an oil-based top coat will stay longer than a water-based paint.
In general, the greater the shine, the longer it will persist.
The most popular finishes these days are satin and eggshell, however they don’t last as long as a gloss finish. Sikkens Satura plus is, in my view, the greatest paint to use.
This is a long-lasting oil-based semi-gloss paint. This is the look I’d go for on my own windows.
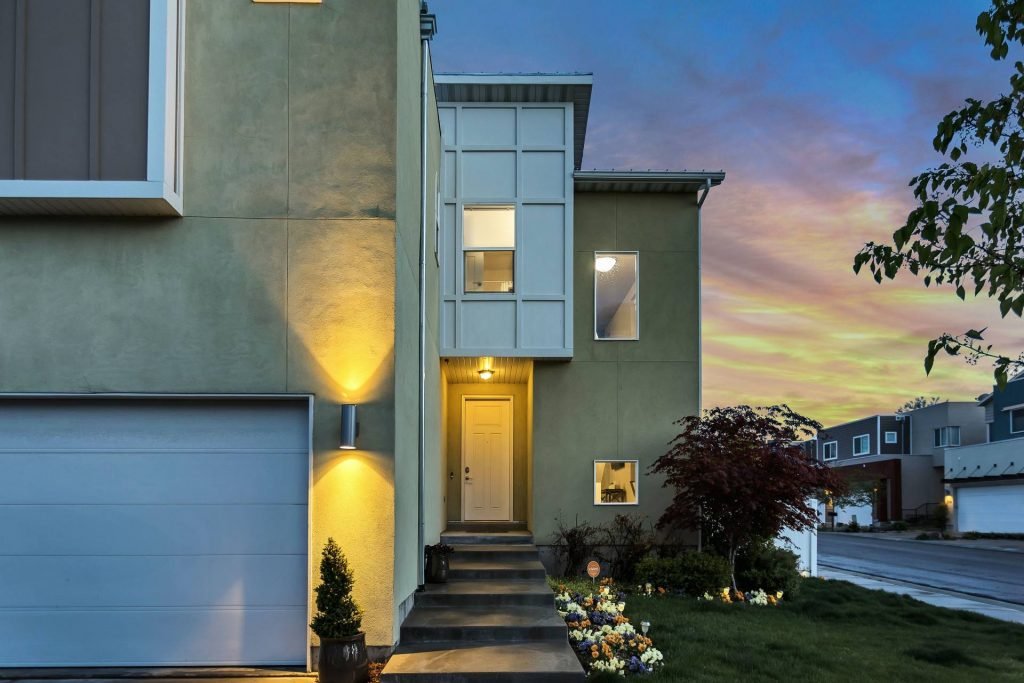
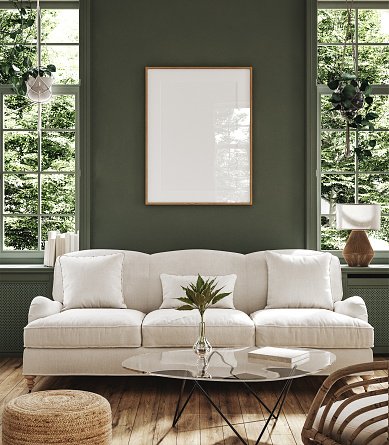
He looks excellent and will last much longer than the varnished or stained finish. It now truly lights up the place! You’ll need the following tools and supplies to perform this on your own.
 The following are the tools you’ll need for this job:
- Scraper for paint.
- Sandpaper grades 60, 80, 120, 150, and 180 are available.
- Brushes of excellent quality.
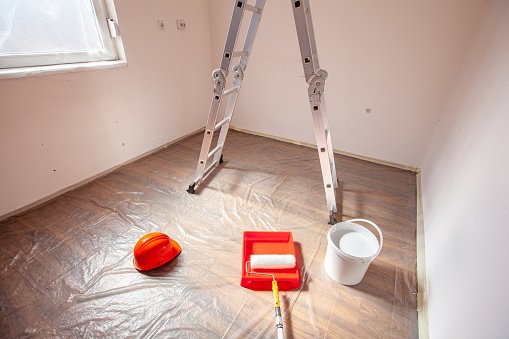
- Kettle with paint.
- For paint overs, use a drop sheet or some other sort of protection.
- Knives for filling and a caulk gun
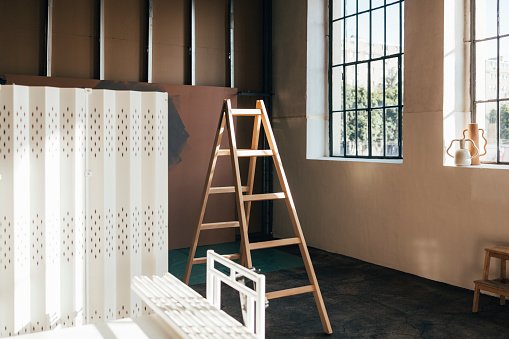
- Extension ladders and step ladder
The following ae the items you’ll need for this project: Primer. Caulk. Filler for wood. Undercoat. Gloss, satin, or eggshell finish for the top coat.
When purchasing all of your materials, I suggest going to a specialty paint store which will have everything you need and can also provide advise if needed. As the best painting company in Calgary and environ, we interpret the art of painting to mean customer satisfaction, and that is why our work is centered around client fulfilment. Our focus circles every detail of your painting needs to deliver the results of your dreams.