There are many things that property managers need to keep track of in order to keep up with building upkeep in the modern world. Consistent inspections of buildings are essential for spotting and repairing problems before they become major problems. To keep your commercial property in good working order for as long as possible, it’s critical to have frequent inspections and to prepare ahead of time for any necessary repairs.
Repairs

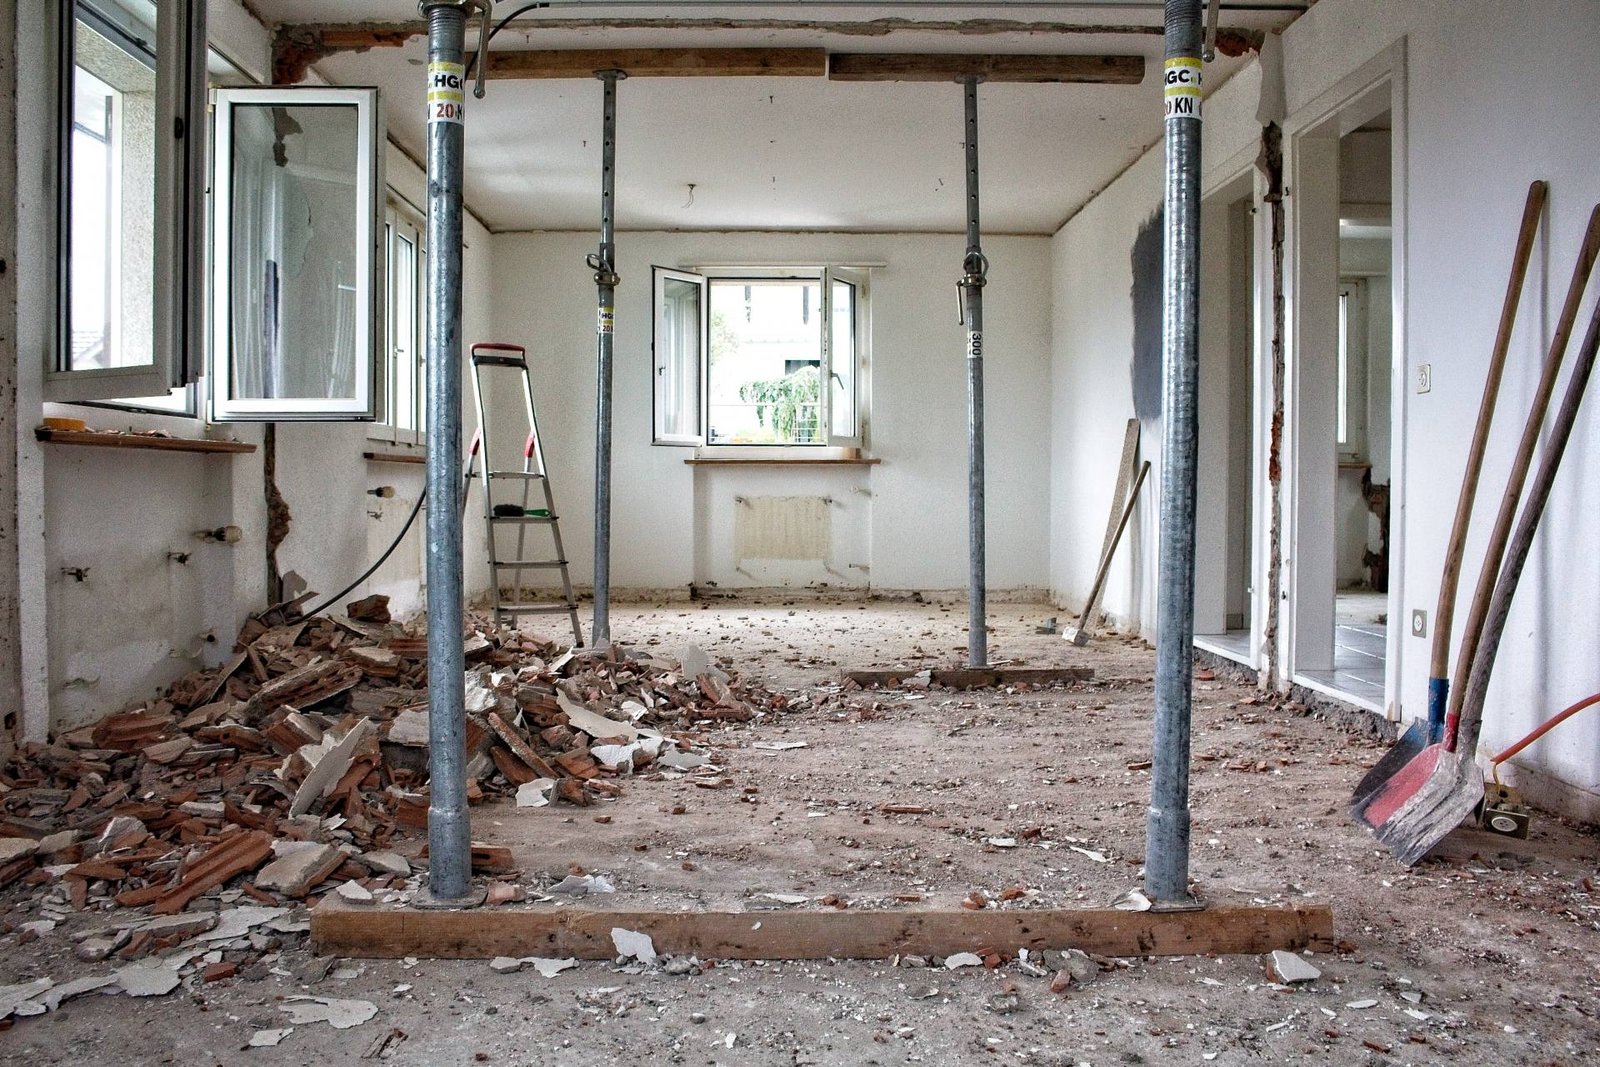
Over time, buildings with a lot of traffic and usage are more prone to suffer from deterioration. Preventing minor faults from becoming major ones requires regular inspections. In addition to the structure itself, an inspection should look at the landscape, parking area, and roof as well.
Floor and wall damage is widespread in areas that are frequently used. A little consideration is all that is needed to protect these surfaces from heavy machines using epoxies and other special coatings. As a structure becomes older, it’s normal to see little fractures appear. Even the tiniest flaws need to be addressed soon, or they will develop into something much more serious. There may be underlying issues with the foundation if cracks are emerging on a regular basis.
Roofs should be inspected often, especially after major storms. The roof should be repaired as soon as possible if there are any leaks or damage, in order to keep the structure safe. Metal roofs may also be vulnerable to rust and UV damage, so regular inspections and the application of protective coatings can help keep your roofing material in peak condition.
Frequently inspect the structure for mold, mildew, or dry rot, particularly in locations where ground exposure or water buildup represent a larger danger. The harm caused by fungi and rot may be reduced and even avoided if you catch it early enough. As soon as mold or mildew is identified, the surface should be cleansed or removed, and the region coated with a long-term protective covering. To avoid further problems, it is necessary to repair and cure any rotted areas.
Air conditioning leaks are often the blame for mold issues. In order to avoid this, it is crucial that the HVAC systems be checked on a regular basis. In addition to looking for leaks, it’s important to look for signs of wear on the system, which might lead to overheating or burnout. Maintenance of this system is essential to ensure the well-being and safety of those who occupy the building.
The plumbing system should also be inspected on a regular basis since it is prone to breakdowns. A little leak may soon escalate to major damage and the growth of mold, which can be quite dangerous. To make sure the system lasts as long as possible, any problems that are discovered during routine inspections should be addressed very afterwards. Consider replacing pipes and other critical pieces while repairing or restoring an older building.
Safety
The safety of your business facilities and their occupants is of the utmost importance, and frequent safety checks should be done. A building and its occupants are at risk from a variety of hazards, including fire, insufficient building security, and natural disasters.
There are a number of issues that need to be addressed to guarantee fire safety. Electrical fires in business buildings are often caused by outdated wiring. As a result, a yearly inspection of the electrical system, which includes the wiring, breakers, and appliances, is highly advised. Receptacles that have become discolored or damaged should be swapped out right away.
Local building regulations should be followed while installing smoke alarms. Keep an eye on them on a regular basis, and change the batteries once a year at a minimum. It’s also an excellent time to look for any fire dangers or obstructions to fire exits during monthly fire alarm checks. Inspect and recharge fire extinguishers on each level of the building to ensure that they are functioning properly and as instructed by the manufacturer. If your facility is located in an area with strict fire safety and prevention standards, follow those guidelines.
In addition to safety, renters and landlords are also concerned about security. For the protection of your facility and the things and people within it, you should put money into a modern security system with cameras, motion detectors, and remote system access. Consistent testing is necessary to guarantee that the system functions effectively and that your firm is using the newest security technology improvements.
It’s easy to forget about the weather while thinking about how to keep a building safe and its occupants secure. Roofs, eaves, and windows may all be damaged by severe weather, such as strong winds or a lot of snowfall. Protect the building from the elements by treating the roof and external walls after each weather event and making sure they are not harmed. Weather conditions may also have an impact on the grounds, parking lot, and pedestrian paths. Make a strategy for winter weather occurrences, such as snowfall. Make sure you have procedures in place to remove snow and ice from walkways and parking lots.
Cleanliness

As a first line of protection against wear and tear, thorough cleanings are critical. Keeping a building’s exterior and interior clean is essential to its overall appearance and function. Cleaning services for bathrooms, windows, and floors should be hired on a regular basis since these are the kinds of places that accumulate grime rapidly. Depending on how much use the carpet receives, you should get it cleaned every 4-6 months to eradicate allergens and keep the room appearing neat and tidy.
To keep them looking their best, clean and repaint the walls on a regular basis. Depending on the usage of the room, this may entail scrubbing the walls using a cleaning solution on a regular basis. For example, in a medical or industrial setting, this is less of a consideration. External walls might benefit from yearly or semiannual power washing to keep grime and debris at bay. In order to keep the quality high, you can plan to repaint interior walls every two to three years and external walls every three to five years.
Pest infestation is one of the most difficult problems to deal with in a structure, and the best technique is to avoid problems before they arise. Consult with a pest control specialist on a regular basis about how to avoid future infestations.
Renovations
Code compliance should have been guaranteed when your business building was first constructed, but conditions have undoubtedly altered since then. It’s imperative that property managers remain on top of the latest changes in building codes and limitations, particularly when it comes to renovations. It’s imperative that you stay on top of local building rules and make necessary improvements to guarantee that your home is always up to date and compliant.
Assume that your building will need frequent upgrades to keep it appearing fresh and appealing rather than shabby. To make your building seem more current and well-maintained, speak with an interior designer or a professional painter about possible color or design modifications.
Always keep an eye on your building’s energy efficiency while making changes or upgrades to it. Improve the energy efficiency of a building by switching out inefficient lighting fixtures, replacing old doors and windows with more energy-efficient ones, replacing broken windows and roofs with newer, more energy-efficient roofing materials, or installing more energy-efficient HVAC or security systems. Renovate or replace aging systems, such as water heaters, pipelines, and other components, when funds allow. Before you are obliged to replace old, damaged gear, look for firms that you can collaborate with to acquire new equipment.
Make sure your external design features wide, clean paths and modern, well-maintained landscaping to raise your property’s curb appeal. When customers or prospective customers see a well-kept façade and attractive landscaping, they’re more likely to become regulars. When it comes to caring for the plants and trees that surround your business, go with a trusted landscaping firm. Landscape experts can assist you choose the right plants and designs for your area’s environment. Regular sprinkler system inspections should be performed by your landscaper to ensure there are no leaks or other problems that might lead to building damage or expensive repairs.
A business facility demands a lot of time and effort to maintain. These four areas – property damage, safety, cleanliness and significant improvements – might help alleviate some of the stress of dealing with it. By concentrating your efforts in this manner, you can ensure that your building is always shown in its finest light. Use a checklist and reminders on your calendar to make sure you don’t forget to do regular inspections and maintenance.
It’s reassuring to know that you aren’t on your own when it comes to maintaining a business property. We, at Painter’s Inc., are here to assist you! Commercial, industrial, and HOA buildings may rely on our cleaning and painting services. In every project we take on, our team leaders guarantee that we complete it on time, within budget, and to the satisfaction of our customers. To set up a free examination, please contact us today.

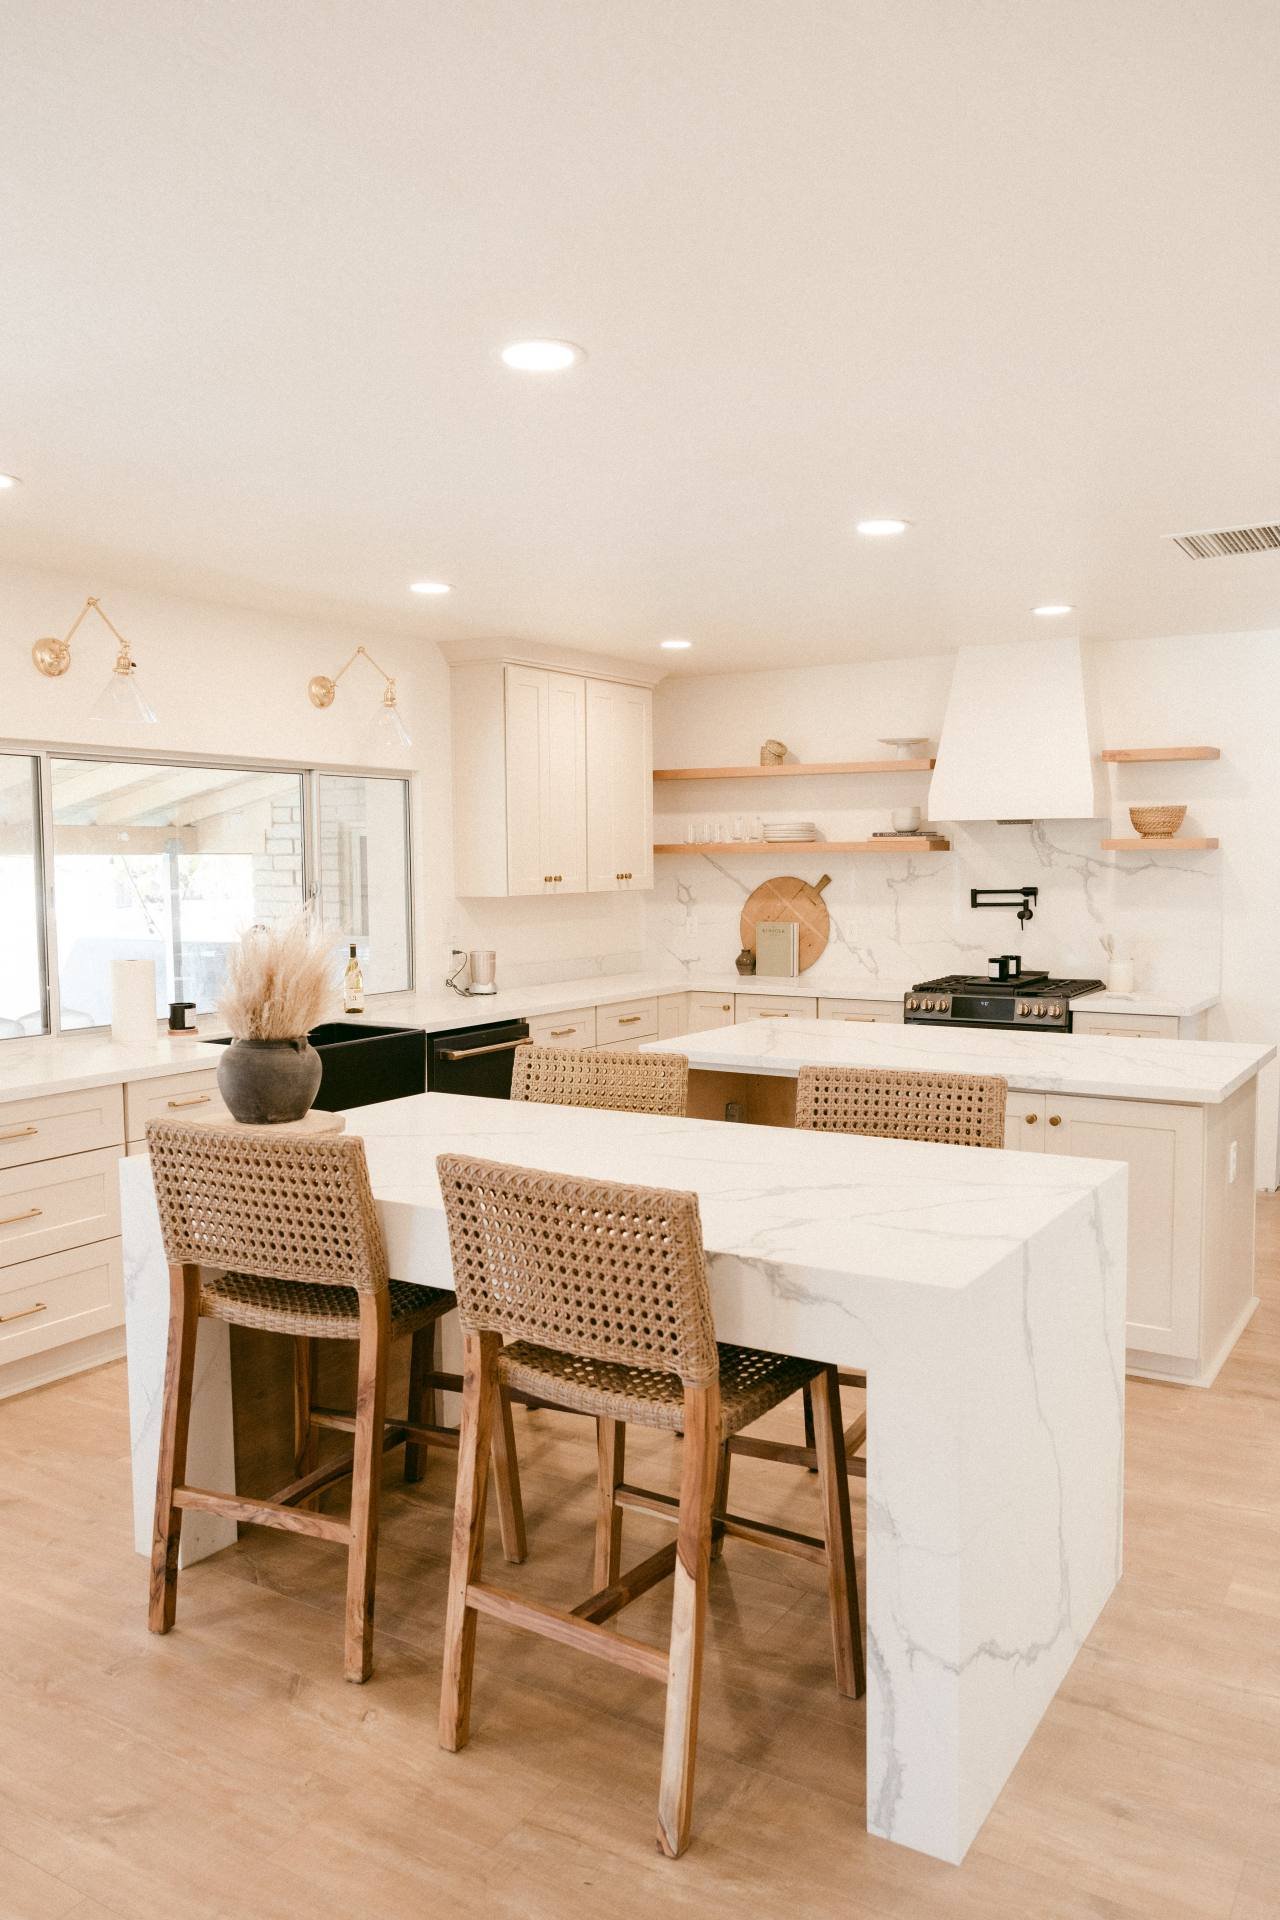
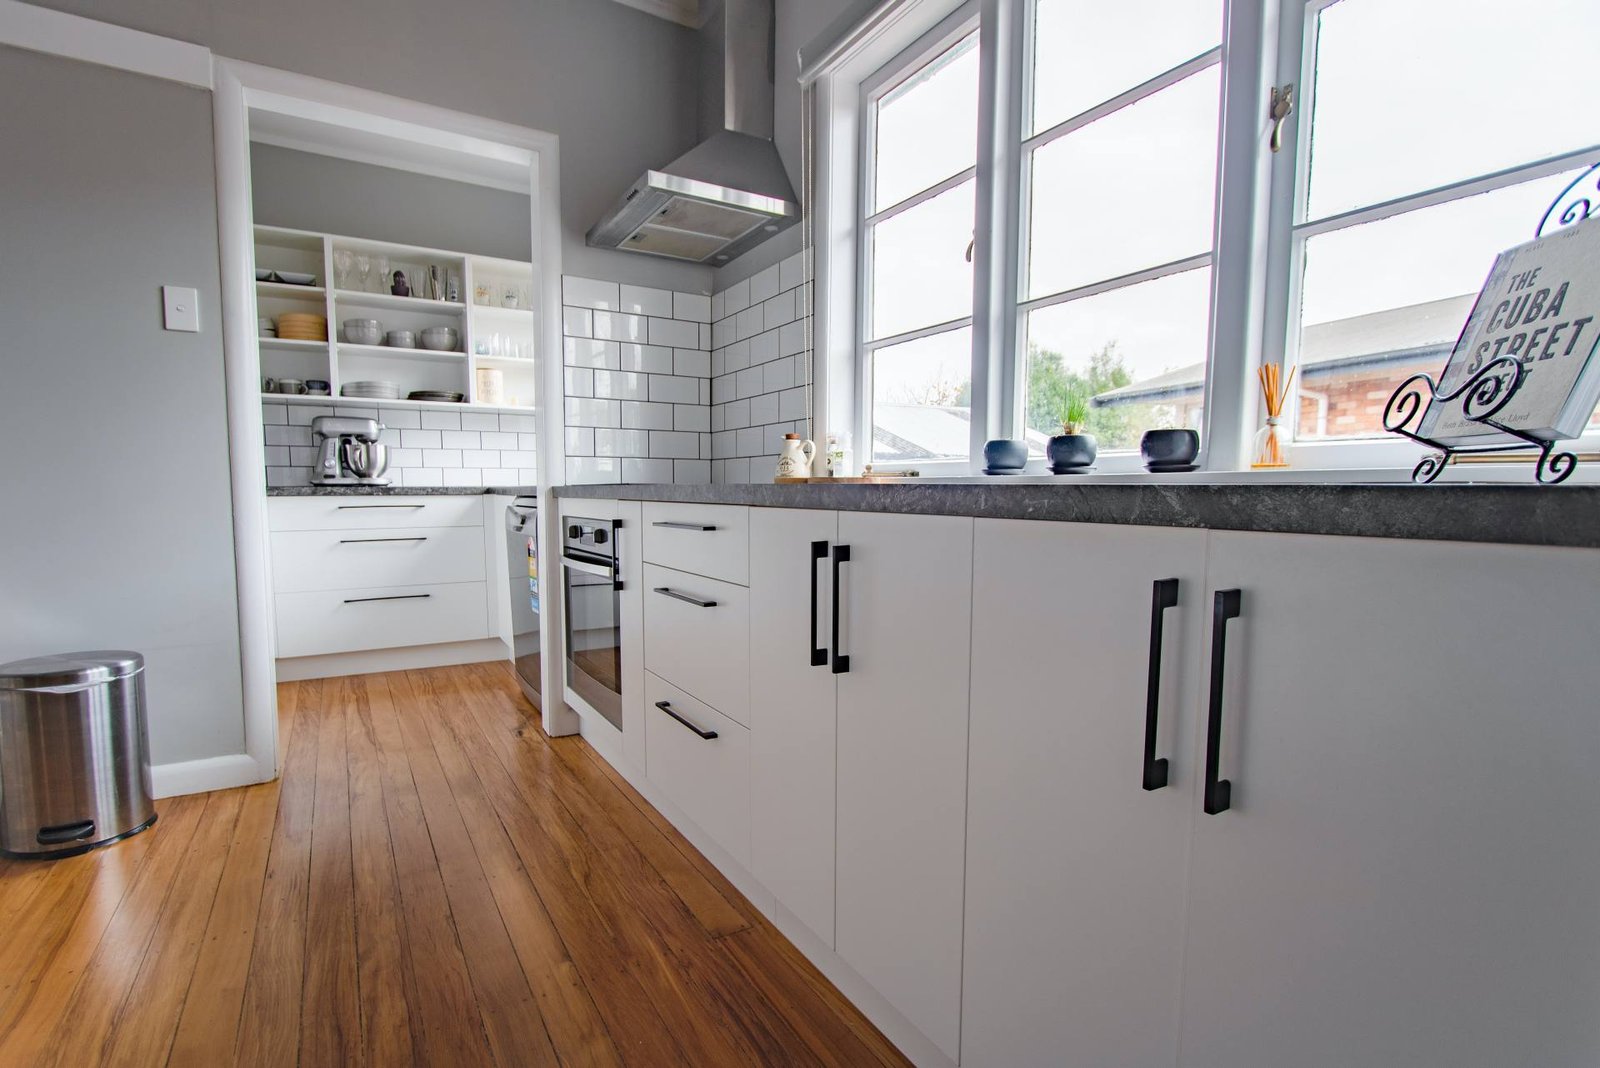
 Best Colors for Kitchen Cabinets


 cloth (just enough to dampen it). If the sealant on your wooden window sills has cracks in it, don’t use a soaked towel since it might harm the wood. The same is true for painted surfaces, which may be damaged or faded by moisture, depending on the kind of finish.